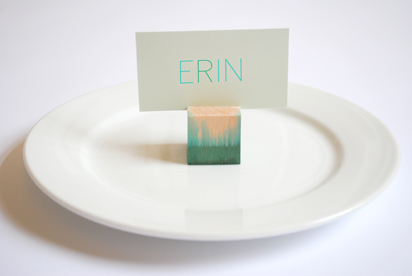
Hi All! I’m Christine, a color obsessed graphic designer living in Cleveland. I am delighted to be joining DFM, sharing simple DIY projects in MakeKind every other week. When it comes to color I must be honest – I love it bright, bold and slightly imperfect. This week, I am making a set of dip-dyed place card holders perfect for any spring celebration. Here are the details:
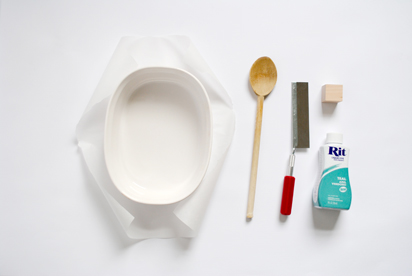
MATERIALS // liquid dye, 1″ unfinished wooden blocks, hobby saw, shallow dish (preferably an old one), wooden spoon, parchment paper, place cards
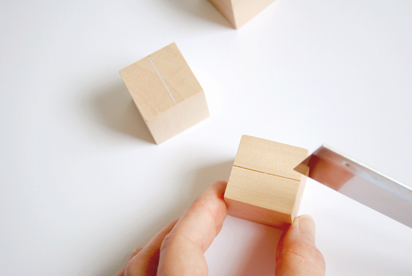
STEPS // 01 CREATE STANDS First, you will need to make a slot in the top of each block. Using your hobby saw, make 1 pass centered across the top of the block. With a slow, even motion, make an additional 30-40 passes (I found it easiest to make all passes in the same direction).
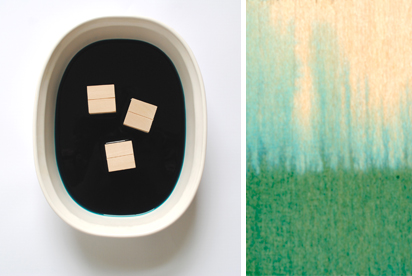
02 MAKE WARM DYE BATH Select a shallow baking dish. Add a 1/4 cup of desired dye, then fill dish with hot water till about a 1/2″ deep. Stir to blend.
03 DIP DYE BLOCKS Place blocks into warm dye bath. Leave blocks in bath for 30 minutes to one hour (the longer they sit, the more saturated the color will be). Remove blocks from dye and transfer to parchment paper. Allow them to dry for a several hours. Once dry, simply insert cards and enjoy.
P.S. Stands can also be used for holding a photo, recipe or even a little note for your honey. Happy dipping!
photos by Christine for Design For Mankind


How simple and cutie is this?!
Ooh, I am SO doing this! Great post Christine, and welcome to the team! :)
Hello Cleveland!! Christine is awesome and sells her wares at my events and store, super excited to completely randomly stumble upon this post and to see that she’ll be contributing regularly…great girl and great blog!!
That said…i want to try some iteration of this! perhaps for my wedding!
xoxo danielle
What a great card holder…Can’t wait to give this a try.
I love this! I have the urge to throw a dinner party now! Or maybe I’ll just make some for our family weeknight dinners– my kids would LOVE these. Plus, it would keep them from fighting over who sits where. :)
these look so easy and are so pretty! cant wait to do this for some summer garden parties <3
Gorgeous! A great but simple addition to the table. Would also be great if you were doing buffet style as menu holders.
@percentblog GREAT idea!!!
This are just amazing, perfect for a summer dinner party. I’m thinking I am going to make some in a bunch of different bright and cheery colors, can’t wait! Thank you for sharing.
@meredith can’t wait to see, meredith!
what a beautifully simple idea
x kat
such a great project, yes?
Thanks for the warm welcome all, I am so pleased you enjoyed!
This is a fabulous tutorial, thanks for sharing! You inspired me to make similar place card holders for Easter!
@kate oh that’ll be so cute!
this is amazing! It’s equal parts smart and SO pretty.
@erin i couldn’t agree more!!!
I love these and have decided to make 100 for my wedding. I was hoping you could tell me what kind of dye you used for the colour? Food dye or a special craft dye.
Thanks for your help!
Laura