

Happy Wednesday all! Do you remember your favorite childhood art project? Straw blown trees were a grade school activity I loved. I recently used this not-too-technical approach to create a nature inspired print for my kitchen. It’s easy, fun and perfect to do with minikinds. Here’s how:

MATERIALS // plastic straw (trimmed to 4″), watercolor paint and brush, paper (8″ x 10″ sheet of watercolor)
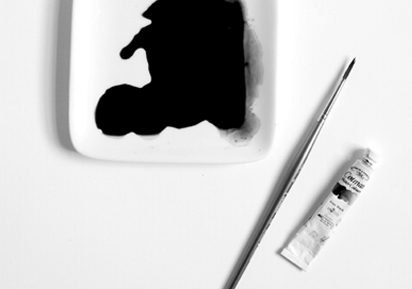
STEPS // 01 MIX PAINT Squeeze a small amount of paint onto an old plate. Mix with equal parts water to thin.
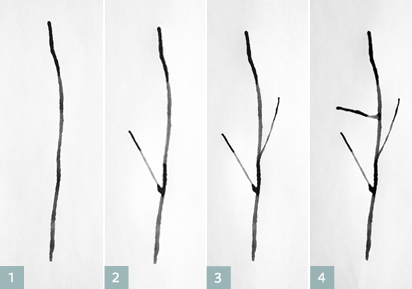
02 PAINT TREES // Start by creating a tree trunk. Using a paint soaked brush, paint a 2″ line. Then using straw, gently blow to desired length. Add branches one by one, dabbing paint along the trunk and blowing in desired direction. Steer branches by tilting straw or paper slightly.
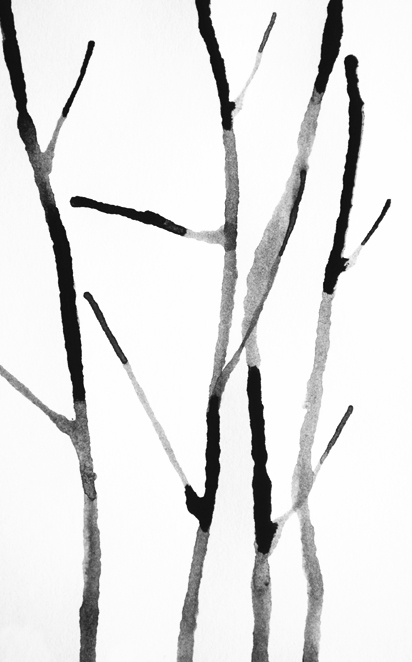
Continue painting trees until you have a pleasing arrangement.
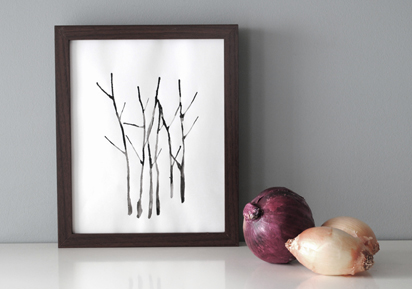
Then, let print dry for a few hours before framing. I found this one at IKEA for $9.99 – so worth every penny!
What a beautiful project idea and LOVE the results! This is perfection! :)
I agree – such a fun project! :)
I teach 3 elementary age Art classes on Monday afternoons (Kindergarten and 1st, 2nd and 3rd, and 4th – 6th). We learn about a different artist each week and then recreate their art in a project. Look at some of Avercamp’s paintings. He painted many winter pictures with trees that are just beautiful! For the kids’ projects, I had them do this very technique for making their own winter trees. All the art turned out really well, and the kids had a blast. Some of them did get a bit enthusiastic with the blowing and became a bit dizzy, though.
@Hannah – Ha, I imagine it could make you quite dizzy, yes? :)
Simple beauty! I’d completly forgotten about this technique …
Love this idea! I teach art and am going to be using this idea next week!
Thanks :)
artbymegan.com
Awesome, Megan!
@Megan So fun – I hope your class enjoys it! ;)
I’ve done this! I got light headed but it turned out really cool.
Ha – I didn’t even think about the lightheaded factor! So funny!